Posted on 7 Comments

Developing a Unique Style with Hazel Meredith

Tell us a little bit about your background and how you got involved in photography.

I have always had an interest in art, crafts, and photography – taking snapshots of family and on vacations back in the day. I also have a graphic design/typesetting background (pre-desktop publishing!). I purchased my first SLR in 1979 – a Minolta XG1 – which I loved. Primarily I was still taking snapshots, but I was learning more as time went on. 

My husband, Dave, and I began covering auto racing around 1991. We had both grown up going to races – me at Riverside Park (MA) and Danbury (CT) with my parents, and Dave in Western NY. We both liked the modified-style cars and when we met someone at a racing show that was starting a new monthly regional newspaper, we offered to contribute articles and photos. We did that for about 13 years pretty regularly, but after ten years of photographing mostly cars, I felt the need to get back to some other kinds of photography too. That’s when I joined a local camera club and really began learning “the rules” and then how to break them. I’m still very involved with camera organizations at the local, state, regional and national levels.

How did you develop your style? Which tools do you find completely irreplaceable in your workflow?

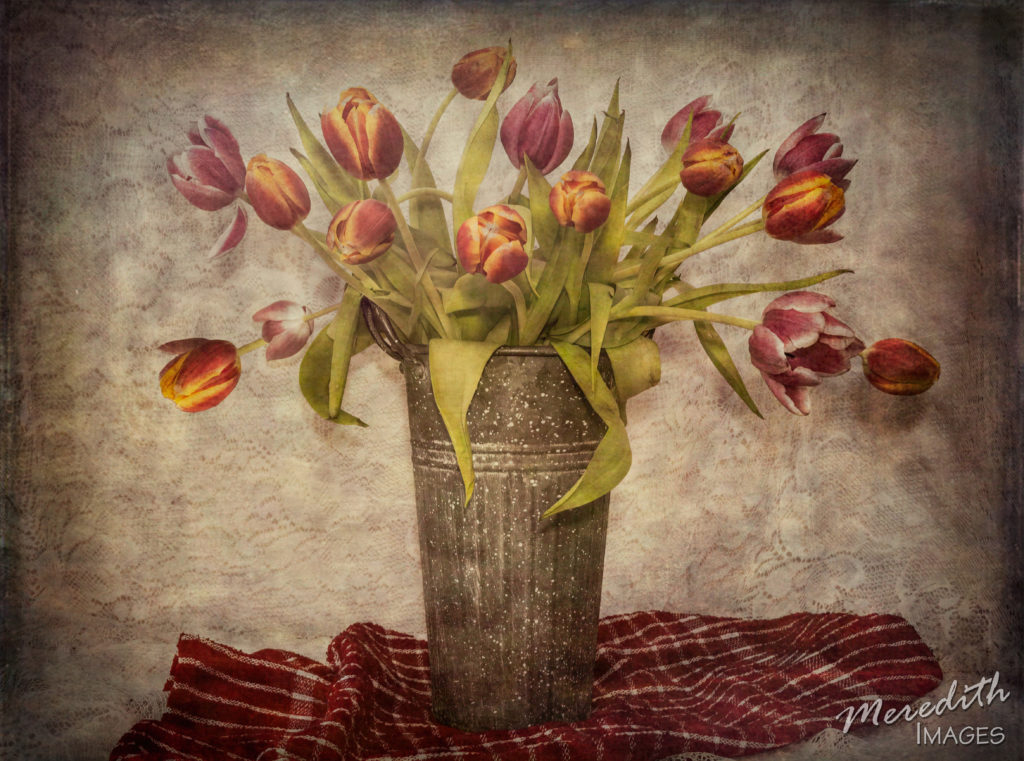
I purchased the original Topaz Adjust after seeing it demonstrated at a regional camera conference. I was hooked on Topaz from then on! In the past six years or so, I really began to work more with textures, so of course, Topaz Texture Effects is my favorite!  I was honored that Topaz included some of the textures I created in the program too! I’ve written two e-books on working with textures, and often combine Topaz and Textures into a seminar or workshop. To me, they go hand-in-hand as creative “partners”.

Tulips with Topaz Texture Effects

I have regularly used Topaz DetailClarity, and Impression as well – now with the new AI products, my workflow is shifting to DeNoise AI and the new Adjust AI.

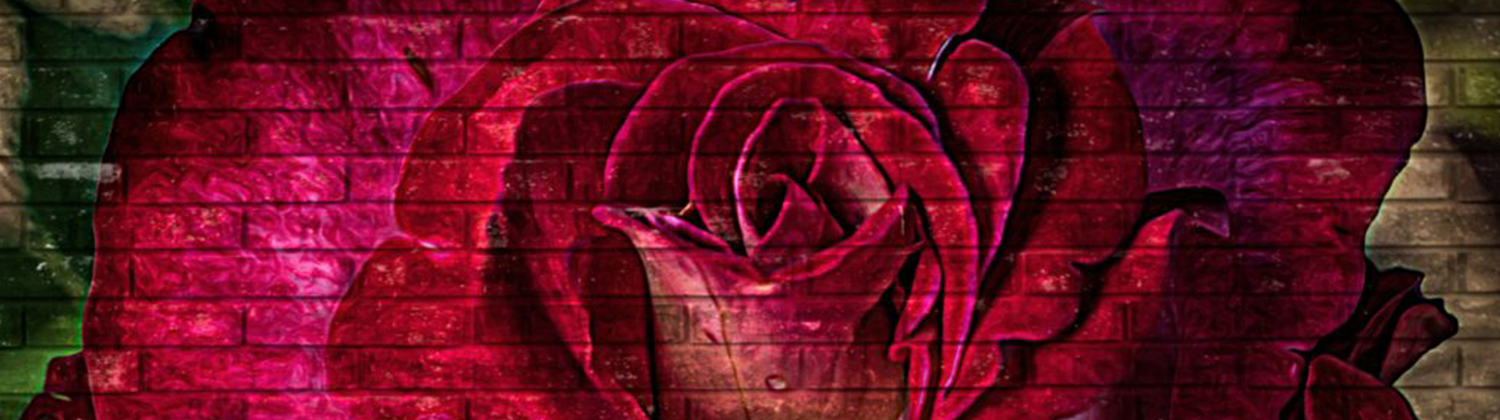
A hint of your style appears in your contributed preset, Painterly, in the new Adjust AI. What kind of images are best for this particular preset?

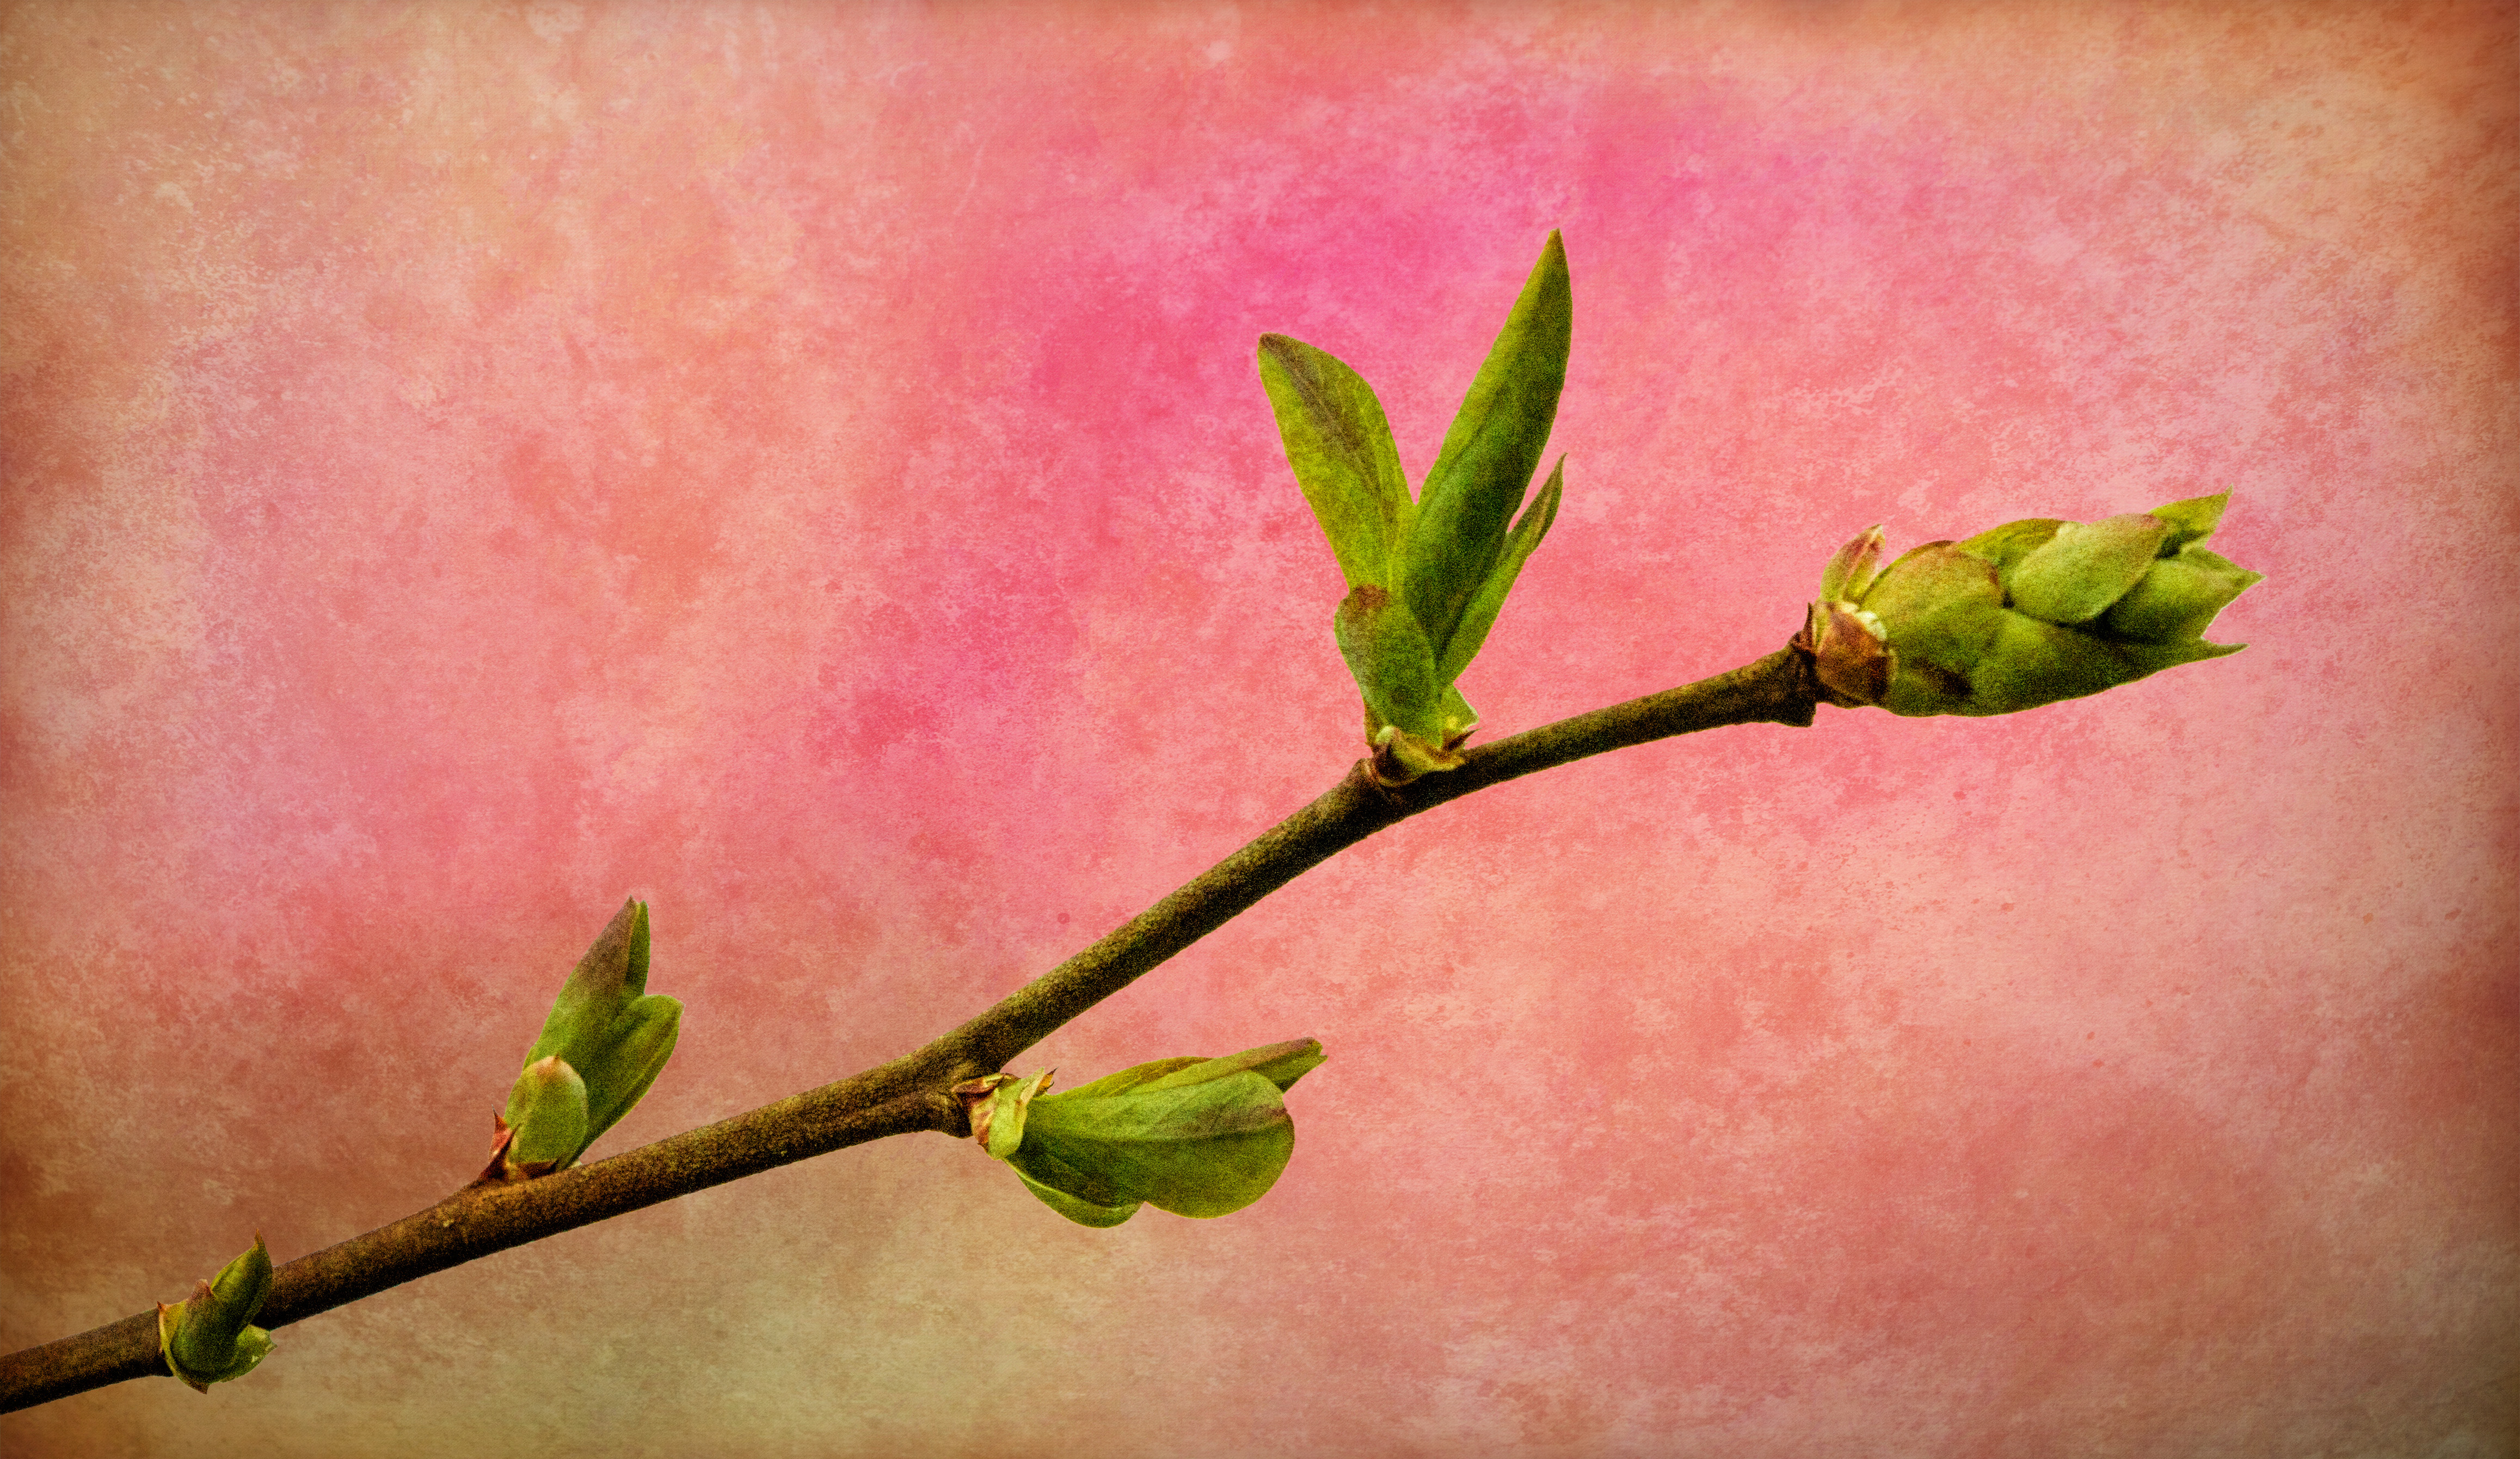
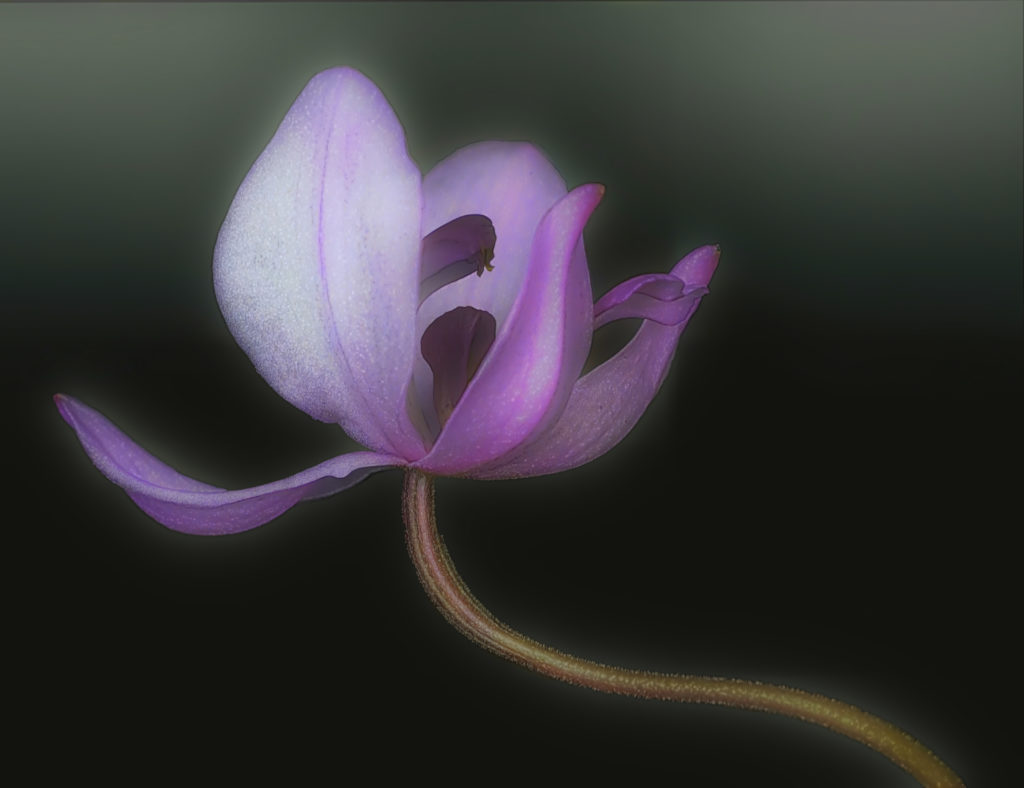
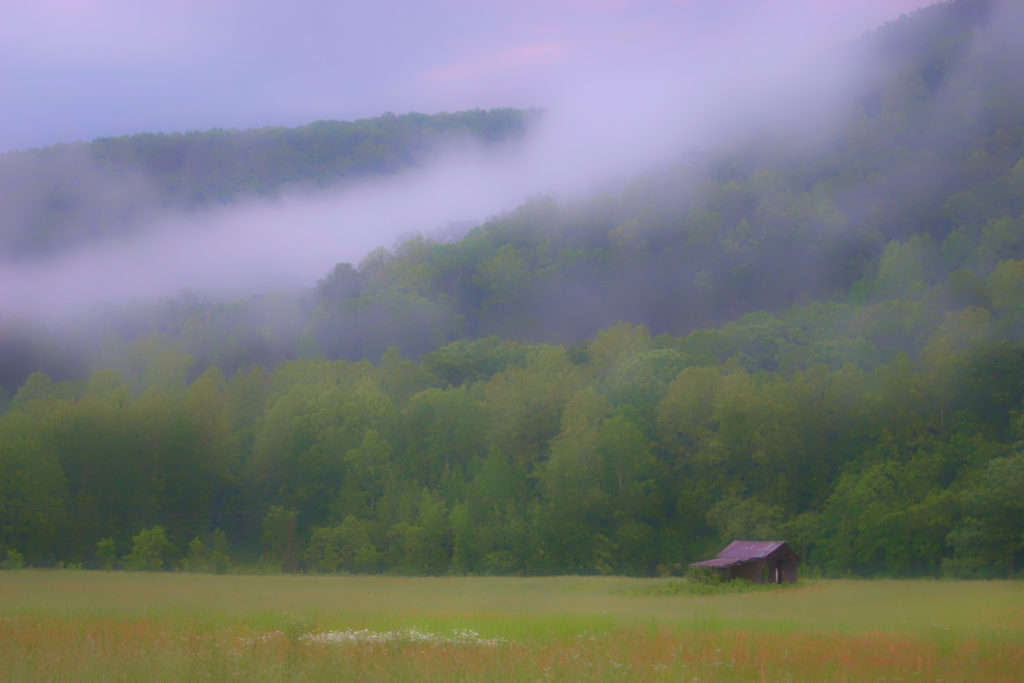
I created this preset to use on a landscape image that I had processed in a painterly style with the original Adjust. I was trying to recreate that look in the new AI version. I think this new preset is even better than the original! I like the ethereal quality it gives my images. This preset will work especially well on florals and landscapes, two of my favorite things to photograph. You can give it a try on your own images right now by downloading Adjust AI! The Painterly preset is under “Soft Effects” in the preset panel.

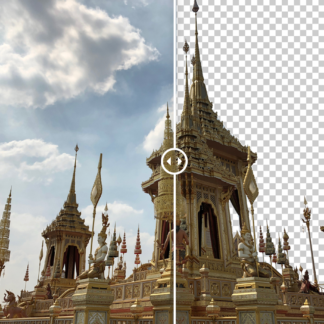
I love to take shots of iconic locations and with the use of Topaz and textures, turn them into something uniquely my own.

Purple Curves with Painterly Preset
Smoky Mountains Cabin with Painterly Preset

What images do you particularly cherish? What’s your most memorable shoot?

Hmmm, that’s a really tough question! I’ve traveled to quite a few of our national parks, especially in the Southwest, and the majesty of those areas are just breathtaking. The Red Rocks of Sedona; the hoodoos of Bryce Canyon; the Grand Canyon…all amazingly beautiful! 

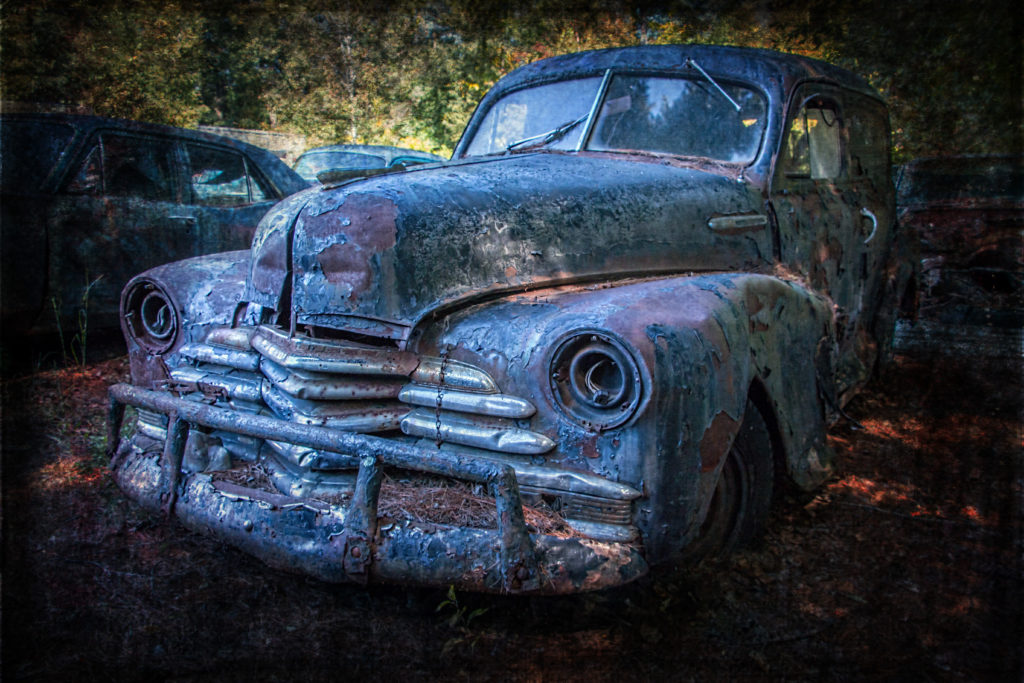
On the other hand, I also love to photograph old abandoned places, old rusty cars and trains and such! The mystery of the stories that old buildings could tell fascinates me.

Those that have been able to catch one of your workshops live are lucky! Tell us a little bit about teaching photography around the country.

It’s been a busy spring and will continue into the fall! I recently did a seminar for the Photographic Society of Chattanooga called “Alternative Visual Artistry with Topaz & Textures”, and then a half-day hands-on workshop on Topaz products for the group. At the end of July, I will be heading to the Southwestern Michigan Council of Camera Clubs conference; in October to Mike Moats’ Macro Conference in Cleveland; and next March to the PSA Southern California Chapter event. And more events are on the horizon! 

My husband and I also run our own Creative Photography Conference, and we held our 3rd event in May here in New England. We will begin moving the conference to other areas of the country next year. This conference focuses on all things creative – both in-camera and post-processing. Fellow Topaz webinar presenter, John Barclay, was a speaker at this year’s event along with seven other talented photographers. 

I’ve also been busy with developing a new series of online videos and doing online one-on-one training. The internet makes it easy to work with people anywhere!

And, we are going to be relocating from Connecticut to Tennessee this fall, so things are extra busy right now with purging and packing!

For those that won’t be able to see you in person, what advice would you give to a photographer looking to achieve their own unique style or get started with photography?

For those just starting in photography, I think joining a local camera club or MeetUp group is a great way to learn as well as have fun with like-minded people. There is a TON of information on the web – watch videos (Topaz has past webinars on their YouTube channel), read tutorials, and just get out and practice! 

And yes, you do need to read the camera manual! You need to become intimately familiar with the workings of your camera so you can concentrate on what you are shooting when out in the field, and not fumbling about trying to get the settings right. You can download your camera manual to your phone or tablet to have it handy when on the road.

If you can, take a workshop with a pro. It’s another great way to get some insight, tips and techniques. You’ll develop your own style as you learn more and get inspired by the work of other photographers. 

Previous slide
Next slide
Posted on 7 Comments

Rose Double Exposure with Topaz Studio

[vc_row][vc_column][vc_column_text]We are excited to share with our users, our brand new Topaz Product, Topaz Studio. Hazel Meredith with Meredith Images is back with us for this tutorial teaching some basic features in Topaz Studio such as choosing and tweaking effects, as well as using the Texture Adjustment to create double exposures.


[/vc_column_text][vc_empty_space height=”15px”][qodef_blockquote text=”This tutorial demonstrates just a small amount of the vast capabilities of the new Topaz Studio. It’s awesome to be able to use all of the Topaz products in one handy Studio!” title_tag=”h3″][vc_empty_space height=”15px”][vc_separator border_width=”3″][vc_empty_space height=”15px”][vc_column_text]

Not Familiar with Topaz Studio?

Topaz Studio is a fast, flexible, powerful creative toolbox and it’s the next level image editor for photographers. Topaz Studio gives you lightning fast results with Topaz’s exclusive image processing technology, in an intuitive, affordable, easy to use application. You can learn more about Topaz Studio in the Announcement and Overview article.

“This is all your Topaz products wrapped into one program.”

We’re Giving Topaz Studio Away! Yep, you read that right. You’ll get complete freedom to use Topaz Studio’s comprehensive masking, as well as 10 free adjustments, opacity slider, blending modes plus full functionality to use it as plugin, a host editor for all Topaz Labs existing products, and standalone all for free. If you’d like to learn more about all the free functionality within Topaz Studio, checkout our What’s Free? article.


[/vc_column_text][/vc_column][/vc_row][vc_row][vc_column][vc_column_text]

Free Download

[/vc_column_text][vc_empty_space height=”15px”][vc_row_inner][vc_column_inner width=”1/2″][vc_btn title=”Windows” shape=”square” color=”primary” align=”center” button_block=”true” link=”url:https%3A%2F%2Fopen_beta.s3.amazonaws.com%2Ftopazstudio_online_installer.exe|||”][/vc_column_inner][vc_column_inner width=”1/2″][vc_btn title=”Mac” shape=”square” color=”primary” align=”center” button_block=”true” link=”url:https%3A%2F%2Fopen_beta.s3.amazonaws.com%2Ftopazstudio_online_installer.dmg|||”][/vc_column_inner][/vc_row_inner][vc_empty_space height=”15px”][vc_separator border_width=”3″][/vc_column][/vc_row][vc_row][vc_column][vc_empty_space][vc_column_text]

Step 1: Open your Image

[/vc_column_text][vc_empty_space height=”15px”][vc_column_text]

I opened the Topaz Studio directly from my desktop as a “stand alone”. You have the option of working that way, or to open the Studio directly from Photoshop or Lightroom.

If you open Topaz Studio as a standalone, you can add images by simply dragging and dropping or by choosing File > Open Image…

If you chose to use Topaz Studio as a plugin, it can be found by choosing

Filter > Topaz Labs > Topaz Studio  in Photoshop.

[/vc_column_text][/vc_column][/vc_row][vc_row][vc_column][vc_empty_space][vc_column_text]

Step 2: Search for an Effect

[/vc_column_text][vc_empty_space height=”15px”][vc_column_text]

Topaz Studio has an awesome feature called the Topaz Community. It allows you to share effects with other Topaz Studio users. I have saved an Effect called Rose Double Exposure that works great for Raw files. To apply the Rose Double Exposure preset, simply search for it in the Effect Panel. 

[/vc_column_text][vc_empty_space height=”15px”][vc_single_image image=”8786″ img_size=”full” alignment=”center”][vc_empty_space][/vc_column][/vc_row][vc_row][vc_column][vc_column_text]

Step 3: Editing Your Image

[/vc_column_text][vc_empty_space height=”15px”][vc_column_text]When you initially apply the Double Exposure preset, you will notice there are no changes made to your image. All Adjustments are set to default values. This allows you to go through each Adjustment and make the necessary tweaks tailored specifically to your image. This effect is a great starting point to know which Adjustments to use in a complete workflow from start to finish.

I went down the preset making changes to the Basic Adjustment, and then tweaks to the Reduce Noise, Precision Contrast, Tone Curves, HSL Color Tuning, and Vignette Adjustments. I did not make any changes to DeHaze or Dual Tone.

Once I was satisfied, I chose to Apply the effect.

You may wish to Save As to keep the image saved with just this preset for future use.

[/vc_column_text][vc_empty_space height=”15px”][vc_row_inner][vc_column_inner width=”1/2″][vc_single_image image=”8789″ img_size=”full”][vc_column_text]

Before

[/vc_column_text][/vc_column_inner][vc_column_inner width=”1/2″][vc_single_image image=”8790″ img_size=”full”][vc_column_text]

After

[/vc_column_text][/vc_column_inner][/vc_row_inner][vc_empty_space][/vc_column][/vc_row][vc_row][vc_column][vc_column_text]

Step 3: Apply the Expressionalism Effect

[/vc_column_text][vc_empty_space height=”15px”][vc_column_text]

Next, I re-opened the Effects panel to see what else I wanted to do.

I went to the Fine Art category of Effects Panel. To browse through the various Effect categories, click the more button at the bottom of the Effects Toolbar. I liked the “Expressionalism” preset. As soon as you apply an effect, you will see the Adjustments populate in the Adjustment Panel on the right-hand side of the screen. 

[/vc_column_text][vc_empty_space height=”15px”][vc_single_image image=”8795″ img_size=”large” alignment=”center”][vc_empty_space][/vc_column][/vc_row][vc_row][vc_column][vc_column_text]

Step 4: Customize the Expressionalism Effect

[/vc_column_text][vc_empty_space height=”15px”][vc_row_inner][vc_column_inner width=”2/3″][vc_single_image image=”8875″ img_size=”large” alignment=”center”][/vc_column_inner][vc_column_inner width=”1/3″][vc_empty_space height=”15px”][vc_empty_space height=”15px”][vc_column_text]

From here I opened the Basic Adjustment section and lowered the Highlight slider to -.38 just to tone down the brighter areas of the rose. I also lowered the Saturation to -.21. I did not make any further changes to this preset. Again, you may want to save a copy of your image for future use.

[/vc_column_text][/vc_column_inner][/vc_row_inner][vc_empty_space][/vc_column][/vc_row][vc_row][vc_column][vc_column_text]

Step 5: Add a Texture

[/vc_column_text][vc_row_inner][vc_column_inner width=”2/3″][vc_empty_space height=”15px”][vc_empty_space height=”15px”][vc_single_image image=”8799″ img_size=”large” alignment=”center”][/vc_column_inner][vc_column_inner width=”1/3″][vc_column_text]

Next, I added a Texture Adjustment to my image by clicking More icon at the bottom of your Adjustment toolbar (bottom right). You will see an asset library that shows all of the textures, backgrounds, borders, light leaks, dust & scratches layers, etc. You can choose the Group you want by clicking the drop down next to Group.

I chose the brick wall texture to give my rose the illusion of being painted on the wall! After making a few adjustments to the sliders, I clicked on the “+ Enhance” in the lower right of the palette, and chose Black & White. This made the brick texture B&W to reduce the effect on the colors of the rose.


[/vc_column_text][/vc_column_inner][/vc_row_inner][vc_empty_space][/vc_column][/vc_row][vc_row][vc_column][vc_column_text]

Gallery

[/vc_column_text][vc_empty_space height=”15px”][vc_column_text]Here are some more edits that were made using the same process in Topaz Studio. Thanks for reading and I hope you enjoyed it![/vc_column_text][vc_empty_space height=”15px”][vc_row_inner][vc_column_inner width=”1/2″][vc_single_image image=”8809″ img_size=”large” alignment=”center”][vc_column_text]

Before

[/vc_column_text][vc_empty_space height=”15px”][vc_single_image image=”8810″ img_size=”large” alignment=”center”][vc_column_text]

Before

[/vc_column_text][/vc_column_inner][vc_column_inner width=”1/2″][vc_single_image image=”8811″ img_size=”large” alignment=”center”][vc_column_text]

After

[/vc_column_text][vc_empty_space height=”15px”][vc_single_image image=”8812″ img_size=”large” alignment=”center”][vc_column_text]

After

[/vc_column_text][/vc_column_inner][/vc_row_inner][vc_empty_space][/vc_column][/vc_row][vc_row][vc_column][vc_column_text]

Step 6: Save Your Work

[/vc_column_text][vc_empty_space height=”15px”][vc_column_text]When you are satisfied with your edits, Save your image by Clicking File > Save As…

Here’s the finished image:[/vc_column_text][vc_empty_space height=”15px”][vc_single_image image=”8808″ img_size=”large” alignment=”center”][vc_empty_space][/vc_column][/vc_row][vc_row][vc_column][vc_column_text]

That’s All For Today

[/vc_column_text][vc_column_text]Thanks for reading! That’s just one of the many things you can effortlessly accomplish in Topaz Studio. Topaz Studio is great for gaining inspiration from pre-made effects or allowing you to create your own looks with our immense library of editing tools.

We’ll be adding more tutorials and videos so be sure to give us a follow to learn more!

If you’d like to share your images with us, tag us on Instagram with @topazlabs and Twitter with @topazlabs. We’re also on Facebook and YouTube![/vc_column_text][vc_empty_space][/vc_column][/vc_row][vc_row][vc_column][vc_column_text]

Free Download

[/vc_column_text][vc_empty_space height=”15px”][vc_row_inner][vc_column_inner width=”1/2″][vc_btn title=”Windows” shape=”square” color=”primary” align=”center” button_block=”true” link=”url:https%3A%2F%2Fopen_beta.s3.amazonaws.com%2Ftopazstudio_online_installer.exe|||”][/vc_column_inner][vc_column_inner width=”1/2″][vc_btn title=”Mac” shape=”square” color=”primary” align=”center” button_block=”true” link=”url:https%3A%2F%2Fopen_beta.s3.amazonaws.com%2Ftopazstudio_online_installer.dmg|||”][/vc_column_inner][/vc_row_inner][/vc_column][/vc_row][vc_row][vc_column][vc_empty_space height=”15px”][vc_separator border_width=”3″][vc_empty_space height=”15px”][vc_column_text]

About Hazel Meredith

[/vc_column_text][vc_empty_space height=”15px”][vc_row_inner][vc_column_inner width=”1/4″][vc_single_image image=”8815″ img_size=”150×150″ alignment=”center” style=”vc_box_circle_2″][/vc_column_inner][vc_column_inner width=”3/4″][vc_column_text]

Hazel is involved with the photographic community on local, regional and national levels. She is currently secretary of the Connecticut Association of Photographers; and a Vice President on the board of the New England Camera Club Council. She is active in the Greater Bridgeport Camera Club where she has held several officer positions, and is also active in the Photographic Society of America (PSA). In 2008 she received an honors distinction of Master Member of the New England Camera Club Council (MNEC) during its annual conference, and in September, 2013, she was awarded the distinction of APSA from the Photographic Society of America at their annual conference. Hazel teaches at many New England camera clubs as well as photographic conferences and events throughout the U.S. She offers workshops and travel photo trips through her company, Meredith Images. She is a regular webinar presenter for Topaz Labs, and she released her first eBook,“Working with Textures & Overlays: Turn Ho-Hum into a Work of Art”in October 2015.

[/vc_column_text][/vc_column_inner][/vc_row_inner][vc_empty_space height=”15px”][vc_separator border_width=”3″][vc_empty_space height=”15px”][/vc_column][/vc_row]